May 2020
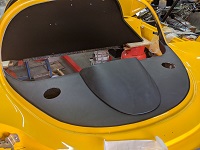
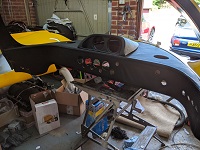
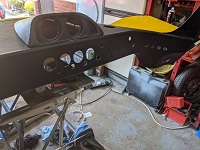
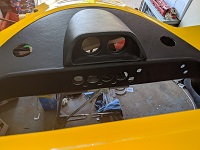
Covering the dash area with the leather is a bit stressful.
With a Dremel I clean up the edge between the screen surround and the dash to ensure I can tuck the leather neatly in the gap.
I start on the centre pod and build up my confidence before the main section. It was tough going stretching the leather and re tacking it down but I eventually get there.
I have cut the holes in the dash with the exception of the the steering area I will do that when I fit the stalks with whatever shroud I use to tidy them.
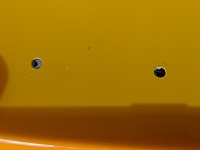
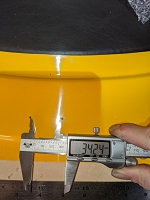
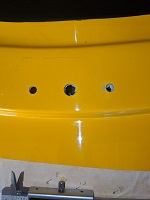
Whilst the centre tub is off I proceed to fit the windscreen washer and wiper assembly. The tub has two pre-drilled holes for the wiper motor which are on centres of 34.24 mm apart
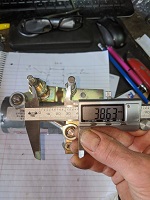
Measuring the centres of the wiper motor I find that distances are different by around 4.5 mm
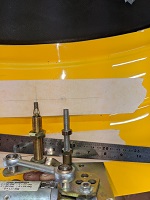
I mark out where the holes should be if I keep the wiper drive post central
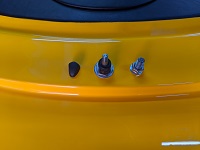
I send an email to Ultima for advice. Whilst waiting for a response I decide that the way forward is to relocate the right hand hole - the washer will hide the existing hole.. To stop the drill bit wandering when drilling the new hole I fill the existing one with body filler and then using the step drill make the holes to the correct sizes and also make a hole for the washer jet.
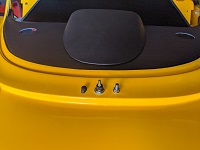
Once cleaned up washer/wiper components fitted it looks perfect.
The factory replies stating that with this older motor that I have needed to be modified before fitting and my one had been modified incorrectly. Options are either modify body to use wider spacing or move the stud on the bracket (will involve welding as the stud only moves half a hole).
So despite me jumping the gun, my implementation is fine. Phew.
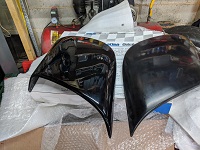
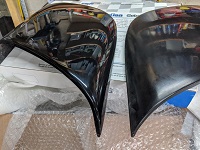
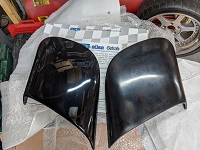
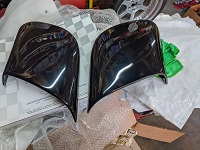
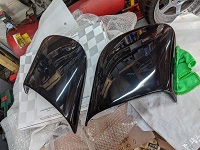
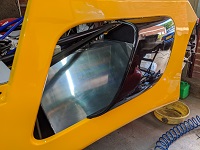
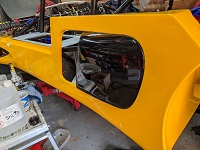
I like the scoops that people have fitted, the main ones available are Reverie, MacG and Russell Horner. The Reverie scoops are Carbon Fibre and very expensive at £549 + VAT each. The MacG ones are also Carbon Fibre, have an overlap on the body and so do not look so slick and are £450 + VAT a a pair. I ordered a pair of fibre glass side scoops from Russell Horner which come in at £265 a pair inclusive of shipping. Before I bought them Russell made it very clear that they would need some re-finishing/painting before installation. Alternatively Russell does provide an option of having them wrapped with a Carbon Fibre finish. I do not like the Carbon Fibre effect just for show and so opted for the plain Fibre Glass ones.
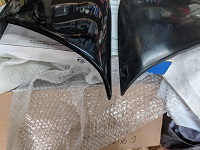
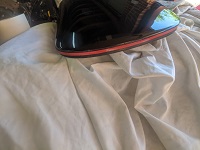
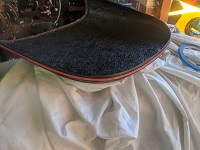
They arrived very quickly and well packaged. I set about them with wet and dry paper and flatted them down using progressively finer grades of paper. I then polished them with some Farecla G3 Finishing compound and was very pleased with the results. Here are some before and after comparison photos.
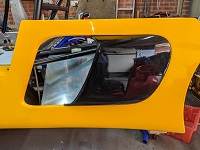
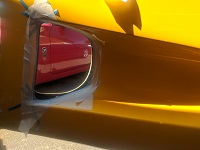
I use narrow 3M double sided tape to hold the scoop in position and then mask up and apply Wurth Bond + Seal to tidy up the join on the outside.
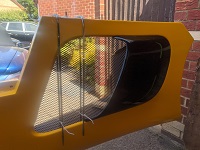
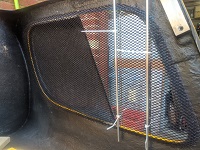
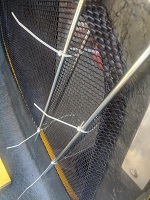
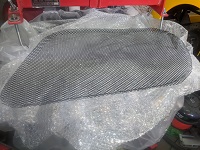
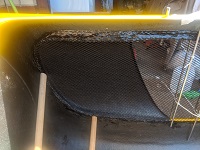
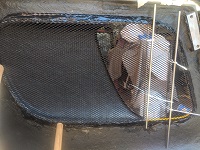
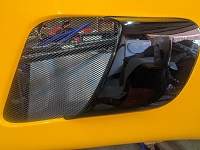
With the scoops fitted next up is to fit the side pod grills. This is made a bit harder with the scoop in the way. Once I have worked out the correct orientation using the front radiator grill as a reference as that can only fit one way, I use some rods and ti-wraps to hold them in position, when I was happy that the pattern is square to the side pod I gently bend the edges over, this will make it easier to fit it in the same place and provides additional area for the Wurth Bond + Seal to hold it.
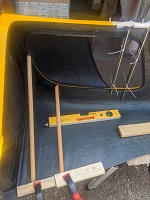
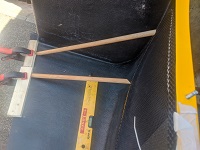
I use some wooden dowel and clamps to apply pressure at the rear of the grill behind the scoop to hold it flush around the slightly curved profile.
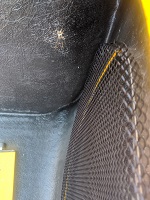
I remove the grill and apply some Wurth Bond + Seal around the edge of the opening and ensure it also is pushed in between the side pods and the scoops up to the 3M tape. The grill is placed back in position and additional sealant forced through the mesh. I use an old credit card to smooth as best I can the sealant and then leave to set.
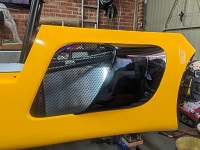
When the bonding has cured and the supports removed they do look good.
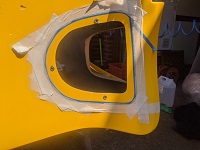
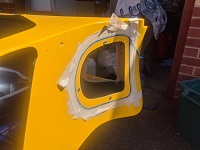
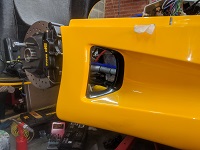
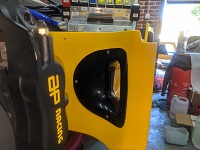
Whilst using the sealant I also final fit the brake ducts. I mask around the edges and apply the sealant.
This sealant is really horrible stuff, you cannot just 'wet finger' it like you would with bathroom silicon. I use rags dipped in acetone to clean of the excess but it is a tedious job, pulling the masking tape up tends to leave a mess that also needs tidying up. For the last edge I did not bother masking and just use the rags and acetone to finish it.
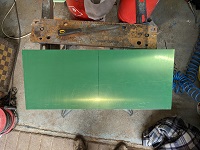
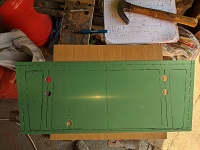
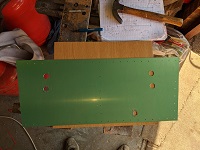
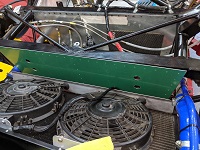
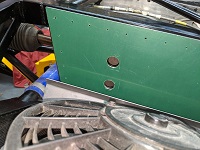
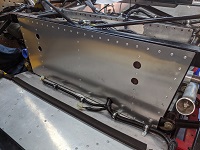
A lot of builders have installed an additional aluminium panel between the cooling radiator and the compartment that houses the steering rack, battery and clutch/brake hydraulics. The logic seems to make sense and I have decided to also fit one.
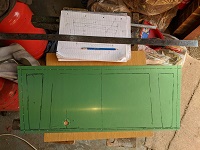
So armed with a nice new sheet of aluminium I measure mark, re-measure cut, drill, file etc.
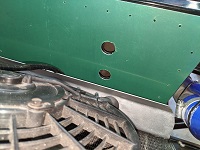
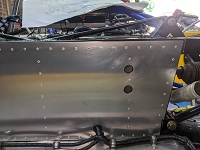
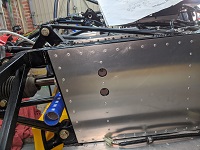
When finished it appears that the holes for access to the steering rack mounting bolts look spot on. Now I need to remove the radiator and fit it.
With the radiator removed I fit the bulkhead panel. You may note the mistake - I drilled a line of holes vertically down the middle when there is not a box section behind. I install some rivets to close the holes :-)
I also take the opportunity to fit some convoluted tubing over the wiring for the fans and earth connections.

