April 2020
A couple of things have become apparent after the engine first fit.
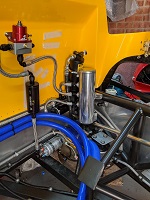
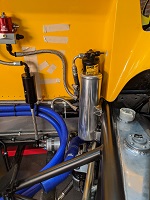
With the cool air intake there is no room for the Ultima cooling swirlpot, also the standard LS3 Steam pipe cannot be used with the relocated throttle body as it causes an obstruction.
After a chat with Steve at Autobionics he recommended doing away with the factory cooling solution and deploying a single header tank. An order was placed for the Autobionics engine cooling kit which also resolves the steam vent issue.
It seems a lot of the rear bulkhead preparation and polishing of the swirlpot and expansion tank was a waste of effort :-(
The cooling kit includes a custom 'S' pipe that connects the left hand pipe from the radiator to the engine and has an outlet for the header tank. When installing it I could not get the 'S' pipe to line up with the engine - Steve suggested that maybe my pipes being so old may be longer. I measure up and cut the pipe down to fit. I will need to get a new bead formed on the end before final fit.
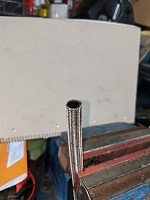
To cut the silicon hoses neatly I use a hose clip lightly tightened in the position of the cut and use it as a guide for the Stanley knife.
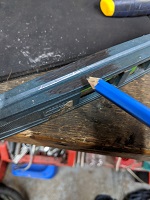
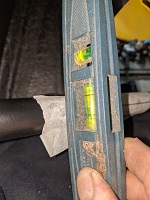
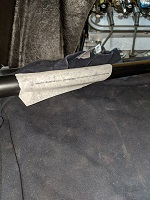
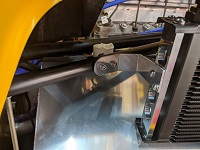
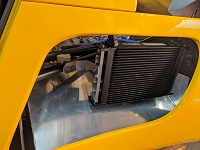
To install the Oil cooler I need to drill a couple of holes in the chassis above the left hand fuel tank. To find the centre line if the chassis tube I apply a piece of masking tape. I then get small spirit level and cover the base of it with graphite from a pencil. Now holding the spirit level vertical I rub it along the masking tape and get a perfect line along the centre .
I support the cooler on some rags on the fuel tank and mark its position. The holes were then drilled in the chassis tube and the cooler placed back in position to locate the holes in the bracket to fix it to the cooler. Once these holes were drilled the bracket was cut down neatly to the edge of the cooler end support. A final hole has to be drilled in the end of the side pod to proved support to the other side of the cooler.
With a better idea on the bulkhead requirements and space for all of the plumbing the engine is removed. The wife has tidied up the shed and a space made for the rear clip, so it was moved from the lounge - I'll need that space later when I temporarily remove the centre body section later :-)
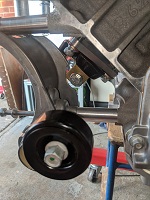
Whilst the engine is out I take the opportunity to relieve one side of the air conditioning compressor mounting bracket. This will make inserting the engine mounting bolt possible with the bracket installed.
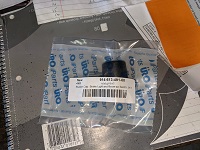
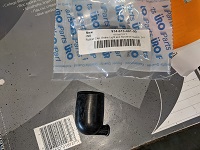
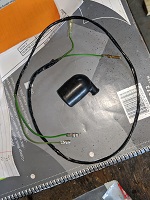
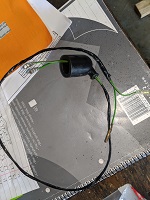
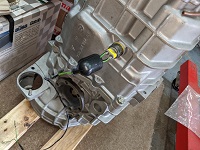
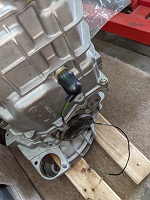
The cable to connect to the gearbox reverse light switch comprises of just a pair of bullet connectors. I look for a proper connector and it seems on the Porsche it uses a similar pair of bullet connectors but also use a protective rubber boot over them. I find a supplier on ebay for them and order one.
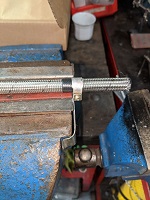
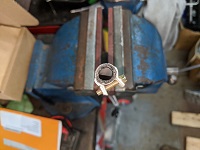
I need to modify the length of a couple of the fuel hoses. I tried just wrapping some tape around the pipe and cutting with a hacksaw but ended up with quite a messy end, I also tried tape and a Dremel with a cut off disk but got similar results. I eventually settled on a method similar to cutting the silicon hoses using a hose clip to keep the wire braid in place.
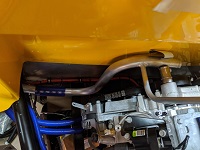
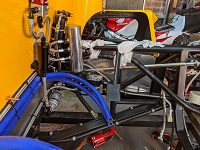
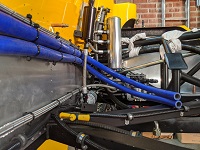
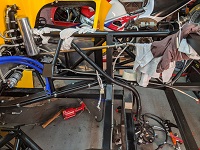
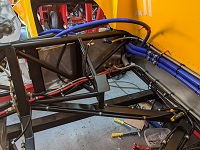
I have now completed the fuel system plumbing, the right hand corner is pretty busy with the air conditioning pipes, coolant pipe, fuel system piping and gear linkage, but they all now have their position and the gear linkage does not touch anything. I do still have the ECU loom to the engine still to route through here though.
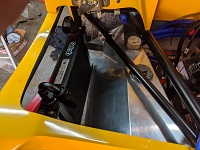
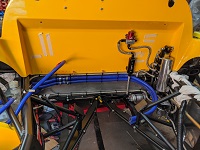
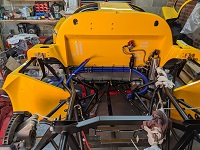
The masking tape on the rear bulkhead covers the holes I no longer need for the original cooling system. When I take the body off I will grind the inside down a bit and fibre glass the holes from the inside. The holes will then be covered by heat reflective coating in the engine bay and carpet in the cockpit.
I have now managed to route the ECU loom to the engine via the busy right hand corner. I have also designed and 3D printed a small support for the 10 micron filter to stand it off of the heater hoses.
I removed all of the P clips on the existing Ultima loom and covered with convoluted tubing and then refitted the P clips. This looks much better than just the PVC loom tape and gives a more consistent finish matching the ECU loom.
Whilst doing this I also relocated the heavy red cable from the battery. Originally for the SBC engine it was run along the right hand diagonal chassis tube following the right hand handbrake cable. In this position it was too short to reach the starter motor location on the LS3 setup. It now follows the left hand chassis tube beside the brake line and then crosses across under the gearbox to where the starter motor will be.
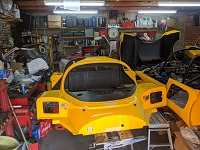
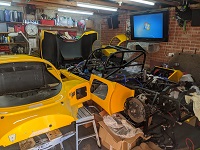
The centre tub is back off (hopefully for the final time). I still have a number of jobs to do with the body off.
I will try and complete all of the jobs on the body first and then hopefully I will be able to store it inside for a while to give more room to work on the the rest of the car.
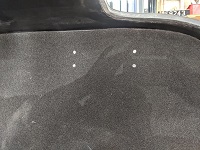
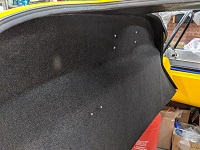
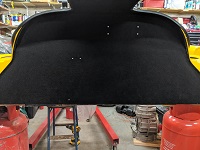
Time to carpet the bulkhead. I have already installed some rivnuts which stick through the bulkhead, I need to make holes in the carpet for these.
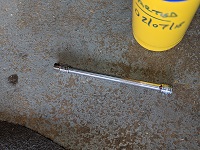
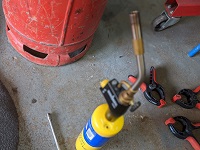
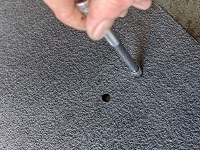
I clamp the carpet in place and then drill a pilot hole through the rivnuts and carpet. I then find an old socket that is the same size as the required holes and heat it up with a blowtorch.Placing this over the hole in the carpet it cuts thriugh and makes a perfect hole.
A quick check that the holes work and then onto gluing the carpet in place. I glue in stages and eventually finish the job. It took more time than I expected but am very pleased with the results.
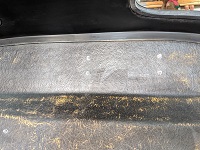
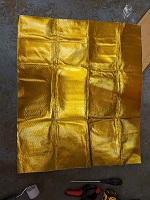
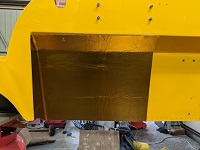
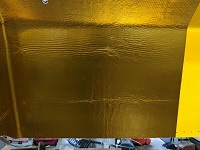
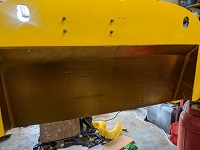
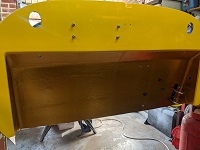
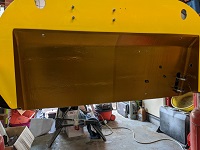
I am covering the engine bay side of the rear bulkhead with a heat reflective sheet. I have purchased some self adhesive gold sheet from Funk Motorsport. The sheets are 60cm x 70cm and are folded up in a sealed package which does cause some creasing.
I prepare a paper template to assist in the fitting and I am able to fit the first sheet with just a join in the top left corner. Some of the creases ease with application but for the cost of these sheets it is poor form.
The second sheet is fitted with slightly better results with the creases.
I rivet on the aircon drier bracket and a couple of clips for the fuel hose and then trim the edges with strips of the 50mm Funk Gold tape that I cut down into strips of just over 16mm wide. This tidies up the edges no end and gives a neat sharp edge.

