April 2011
The ugly face of the garden fence reared its head again. SWMBO (She Who Must Be Obeyed) wants it replaced, she is also nagging about the gaps in the patio pointing. To get the fence to match an adjoining neighbours fence we decide to get a quote from the builder that erected it. After a bit of haggling we get to a price that we find acceptable - result. One less job for me, although I have less luck avoiding the patio. I'm telling you, that was a job that makes your back ache, bending down cleaning out the gaps and then poking mortar in all of the gaps. Still she's happy and I can get back onto the car.
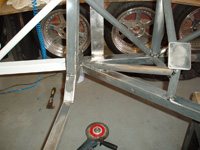
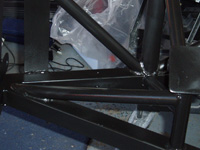
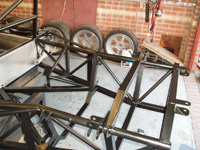
The rust on the rear of the chassis looks much worse under the flash of the camera than by the garage lighting and must go. To facilitate the sanding and to protect the nice shiny disks etc. I removed the rear wishbone and upright assemblies. Rather than dismantle them I used the engine hoist to remove them as complete units. The loom, handbrake cables, clutch and brake lines were all removed and the chassis masked up from the roll bar forward. The rear end of the chassis was sanded down. All of the surface rust removed with a combination of wire brushes, sand paper and grit blasting, both by hand and using air tools. All other areas were then sanded to provide a key for painting.
All exposed areas of metal were then treated with Jenolite rust treatment. As each was treated, it was then Zinc primed to protect any exposed metal.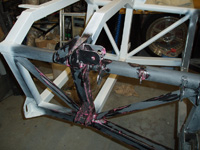
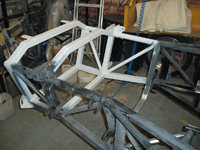

The whole of the rear chassis was then primed with zinc primer and once dry, sanded with an ultra fine scotch pad to key the surface for painting.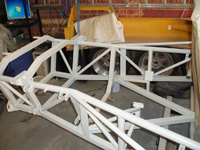
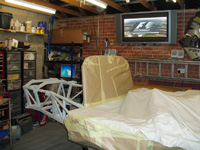
The rear was then painted with 2k black paint. Spraying all of the corners, joins etc. is a fiddly process and I quickly found out that it is easy to knock the spray gun on a previously painted area, I can see now why powder coating is the finish of choice for a space frame chassis.
The finish of the 2k black was very shiny, particularly when compared to the existing powder coating on the rest of the chassis. Experimenting with wet and dry paper etc. I found that scuffing the surface with an ultra fine scotch pad together with cutting compound reduced the shine to match the powder coating.
Closer examination behind the luggage containers revealed a few similar areas of surface rust, along with a small area by the offside lower front wishbone mounting point. So off came the luggage containers and offside wishbone and upright assembly. The same sanding, rust treatment and paint process was performed.


