January 2015
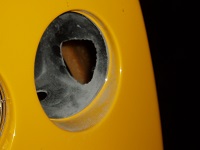
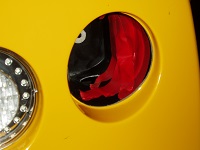
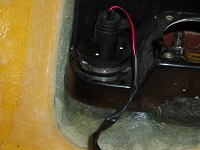
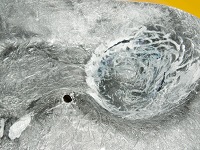
The LED rear lights have different mounting fixtures and as such some of the existing fibre glass in the Rear Clip light receptacles needs to be cut away.
I use tape to cover the hole and the use the tape as a support to apply a couple of new fibre glass layers.
Removing the tape when the fibre glass has set and a coat of black stone chip paint finishes the job.
Just need to repeat for the other light locations.
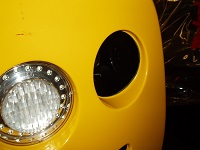
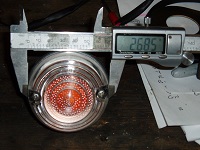
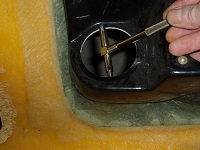
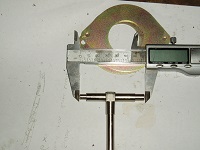
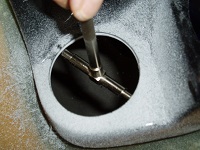
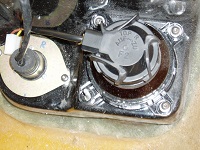
The aperture for the front indicator needs to be opened out a bit. I use the same method as the rear with a sanding drum and engineers telescopic snap gauge
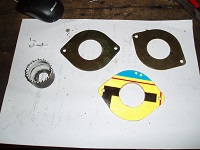
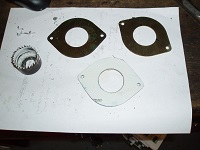
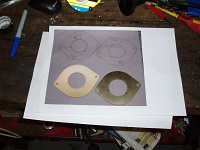
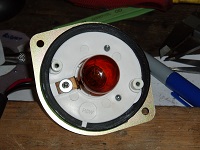
The indicators need to be attached to a backplate to secure them in plac. I decide to have a trial run using an old number plate to fabricate a pair of 'test' back plates before committing to the real ones.
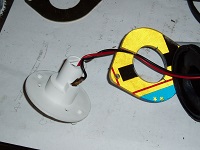
I trial fit the pods that cover the rear of the front light assemblies. I have both the original covers and the new slimmed down ones.
The original ones seem to fit over the lights with no problem although there are numerous stories of tyre rub with these - hence the facttory redesigned them I guess.
Because of this I do want to use the slimmer ones but they don't seem to sit very well, with gaps around the edges.
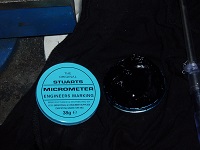
I use some engineers marking blue on the lamps and the fit the cover and can then see where the are touching. I snad this are down a bit but do not seem to achieve to much.
I will have to come back to this.
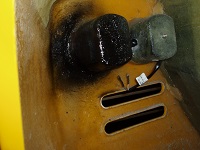
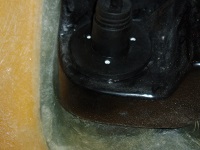
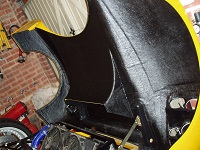
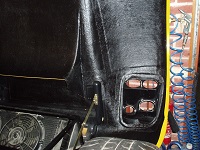
Finally I paint the inside of the front clip with some black stonechip paint.

